Saturday, February 20, 2016

Baby Heart Quilt and Super Cheap DIY Quilt Frames

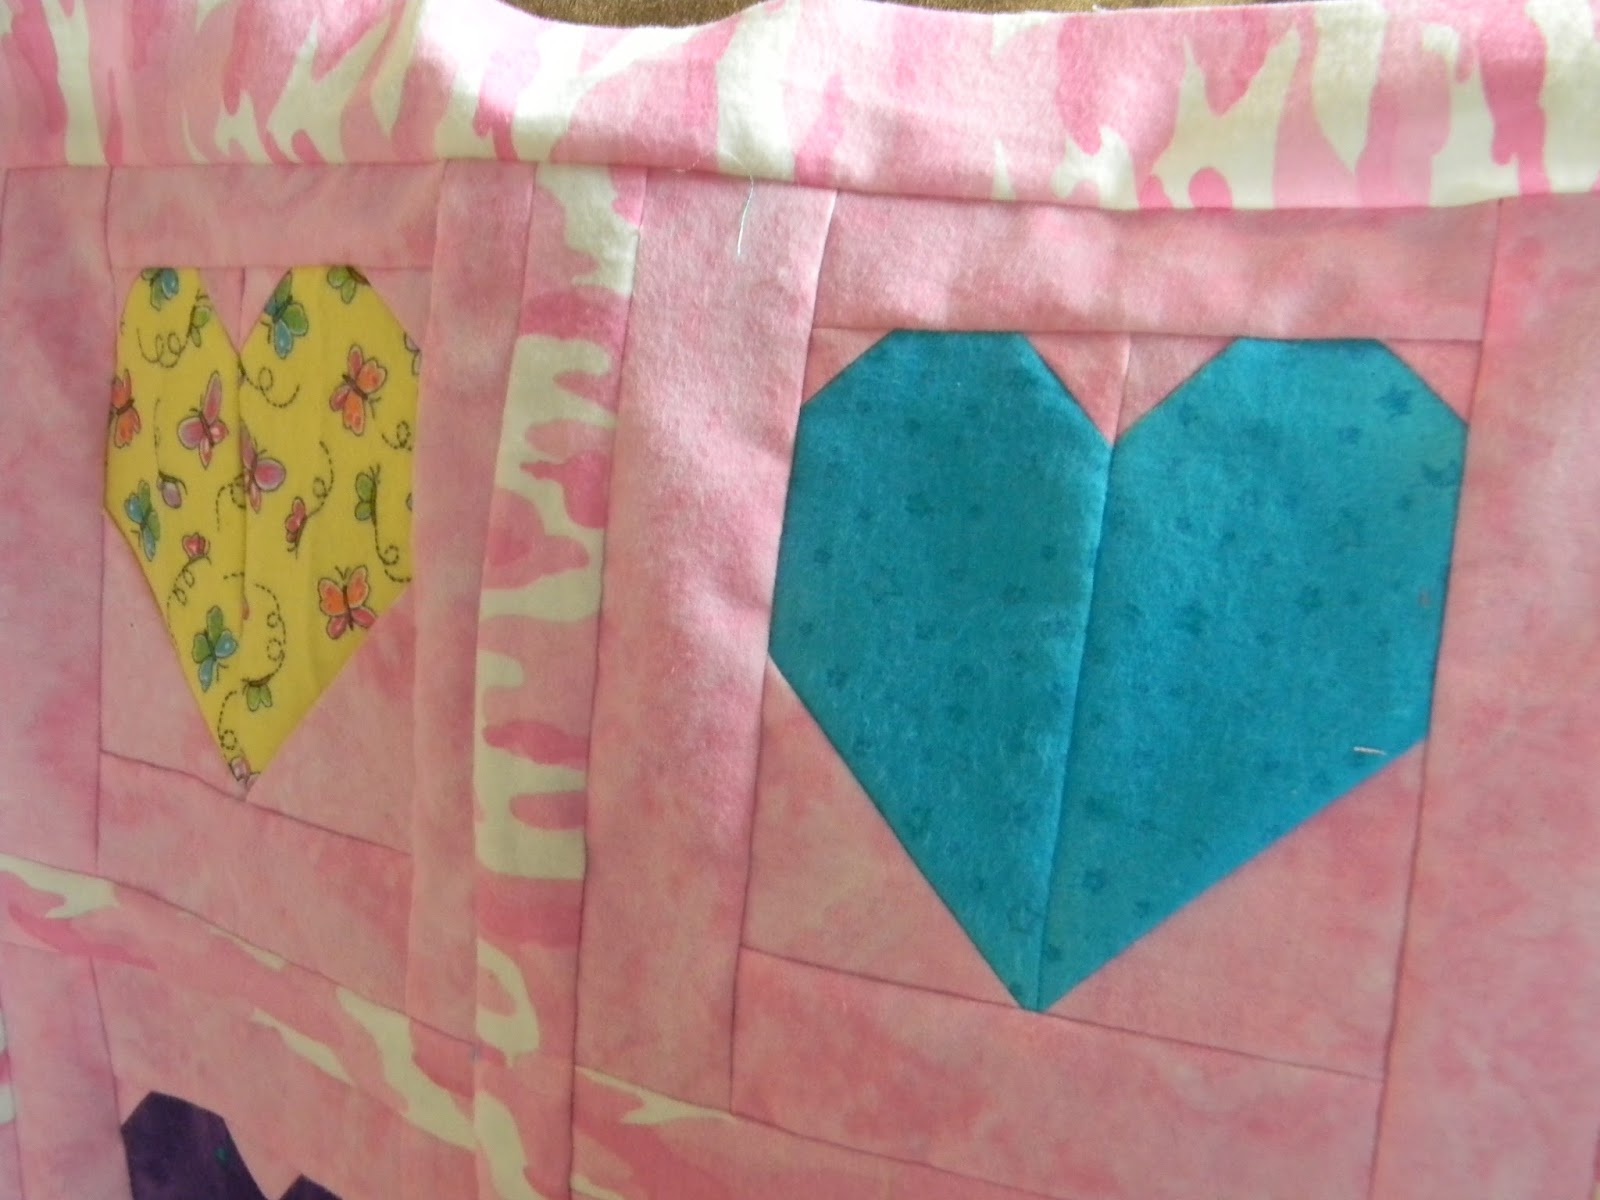
I love these simple heart blocks and they were just perfect for a baby girl due around Valentines day
Here is the finished quilt top:
I was in a hurry to get the quilt done so while I would have rather done something other than tie it, tying was the fastest option so that's what I did.
Here are my DIY quilt frames that I put together from things around my house. I actually got the idea from the friend I made this blanket for.
I have one of those old kitchen tables that pulls apart for putting leaves into so I just pulled it apart until my quilt fit inside. Then all you need is:
-Scrap wood (1x2's or 1/3's)
-squeeze clamps (97 cents at Walmart and I will use them for woodworking)
-pushpins
I laid the wood out on my floor first and clamped it to about the size of the quilt. Then I stretched the quilt onto it, securing it with push pins. I didn't think to take pictures, but here it is from the back after I finished tying the quilt:
Then I lifted the whole thing onto my table and adjusted the opening in the table to the right size and secured the clamps one at a time to my wooden frame and the table:
Make sense? Not bad for pretty much free! I usually borrow frames from someone, but couldn't get ahold of anyone and like I said I was in a hurry!
So here is the finished quilt:
Do you ever feel slightly ill, or develop a strange looking rash so you immediately turn to google and discover that you are on the brink of death with a rare form of cancer that no one has ever heard of? No? I mean, do you ever psych yourself out with internet searches, or is that just me? Apparently the psych yourself out technique works for crafting too. I wanted to do a quick method to bind the quilt that didn't involve cutting on the bias or running to the store for some binding. I had done a self-binding quilt before using the back, but that was just a scrap quilt for my daughter, not something special for my friend. So I took to google and there were all kinds of warnings about self binding and how you needed a walking foot to do it it's not really the best option for anything big. So I agonized about it and almost ran to the store to just buy some binding but then I talked to my mom who told me to just go for it. That's how grandma always bound quilts. Lucky grandma with no internet and know-it-all bloggers! I actually still have a quilt from grandma that is bound that way, still going strong after over 15 years. Anyway, back to the point. I just went for it (binding the quilt using the fabric from the back) and it was simple and turned out fine. No walking foot or anything. It didn't come out perfectly but it will hold up well and I don't think the baby will mind.

Thursday, February 18, 2016

Scrappy crumb quilt

A couple months ago I saw this fun idea on pinterest for using up scraps. They call it a crumb quilt and it was fun! Here is the tutorial I saw, but I know there are many more out there. I loved how fun and easy it was to make:
 I have this habit of saving the most awkward of scraps in the hopes that I will use them someday and I finally found out how.
 Each block is unique and fun in it's own way. My favorites are the ones with triangles. It looks so complicated but it wasn't.
One of the things I am learning is that using white fabric to frame the blocks helps a scrappy quilt look more polished. The only fabric I bought for this quilt top was the white. I'm not sure what I'll do with this one yet but I like it!

Finishing Quilts

I just realized that I post about quilts that I start but I don't post the finished picture. Here is the finished quilt from my last post (2 years ago):
  The funny thing about this one was that when I told my old friend from another state that I was working on a scrap quilt to use up some of my scrap stash, she up and mailed me a whole new box of scraps! So I was able to make it into a twin size quilt and I ended up with more scraps then I started with! I don't really love the busy scrapiness of the whole thing, but I do like it. My daughter loves it though and it keeps her warm at night, so it's a win.
And here is the finished heart and butterfly quilt. This is my favorite quilt I've ever made! It will always be full of memories for me.
 I actually finished this for my daughters birthday 4 years ago. My how the time flies! I had gotten burned out on making the hearts and the butterflies and then my daughter said she wanted some green in it so we got the idea to fill in some space using the nine block pattern you see there. From there I just added on borders to make it fairly large. This is a bit bigger than a twin size. It would probably fit a full bed nicely. Right now it's on my daughters twin bed and she loves it still!
Here is a close up of the heart to show why I got burned out on making so many of them!
 And here is a butterfly close up. I made up the butterfly pattern myself to fit in with these hearts. My friend drew a pattern for the butterflies bodies and then I ironed them on with iron on adhesive stuff. Then to make sure they didn't fall off I sewed the body on too. The antennae were embroidered on by my friend.
 Then to top it all off we hand quilted the whole thing! That was time consuming but very fun. We just stitched around each butterfly and heart and then stitched a heart:
 Or butterfly on the empty squares:
 On the edge my friend had a pattern that we chalked on and I love the way it turned out:
 We criss-crossed through the borders here:
Basically we just kind of made it up as we went along. I love all the help I got on this quilt and how much I learned while making it. I have yet to make a quilt that I like better or feel more proud of than my scrappy heart and butterfly quilt!